In the span of two afternoons, one exterior wall is officially on its way to being covered with cedar siding. Thank you, forests! Thank you, power tools! Thank you, people who helped out! Thank you, weather gods for not releasing any rainstorms! (and, thank
you, exclamation points)
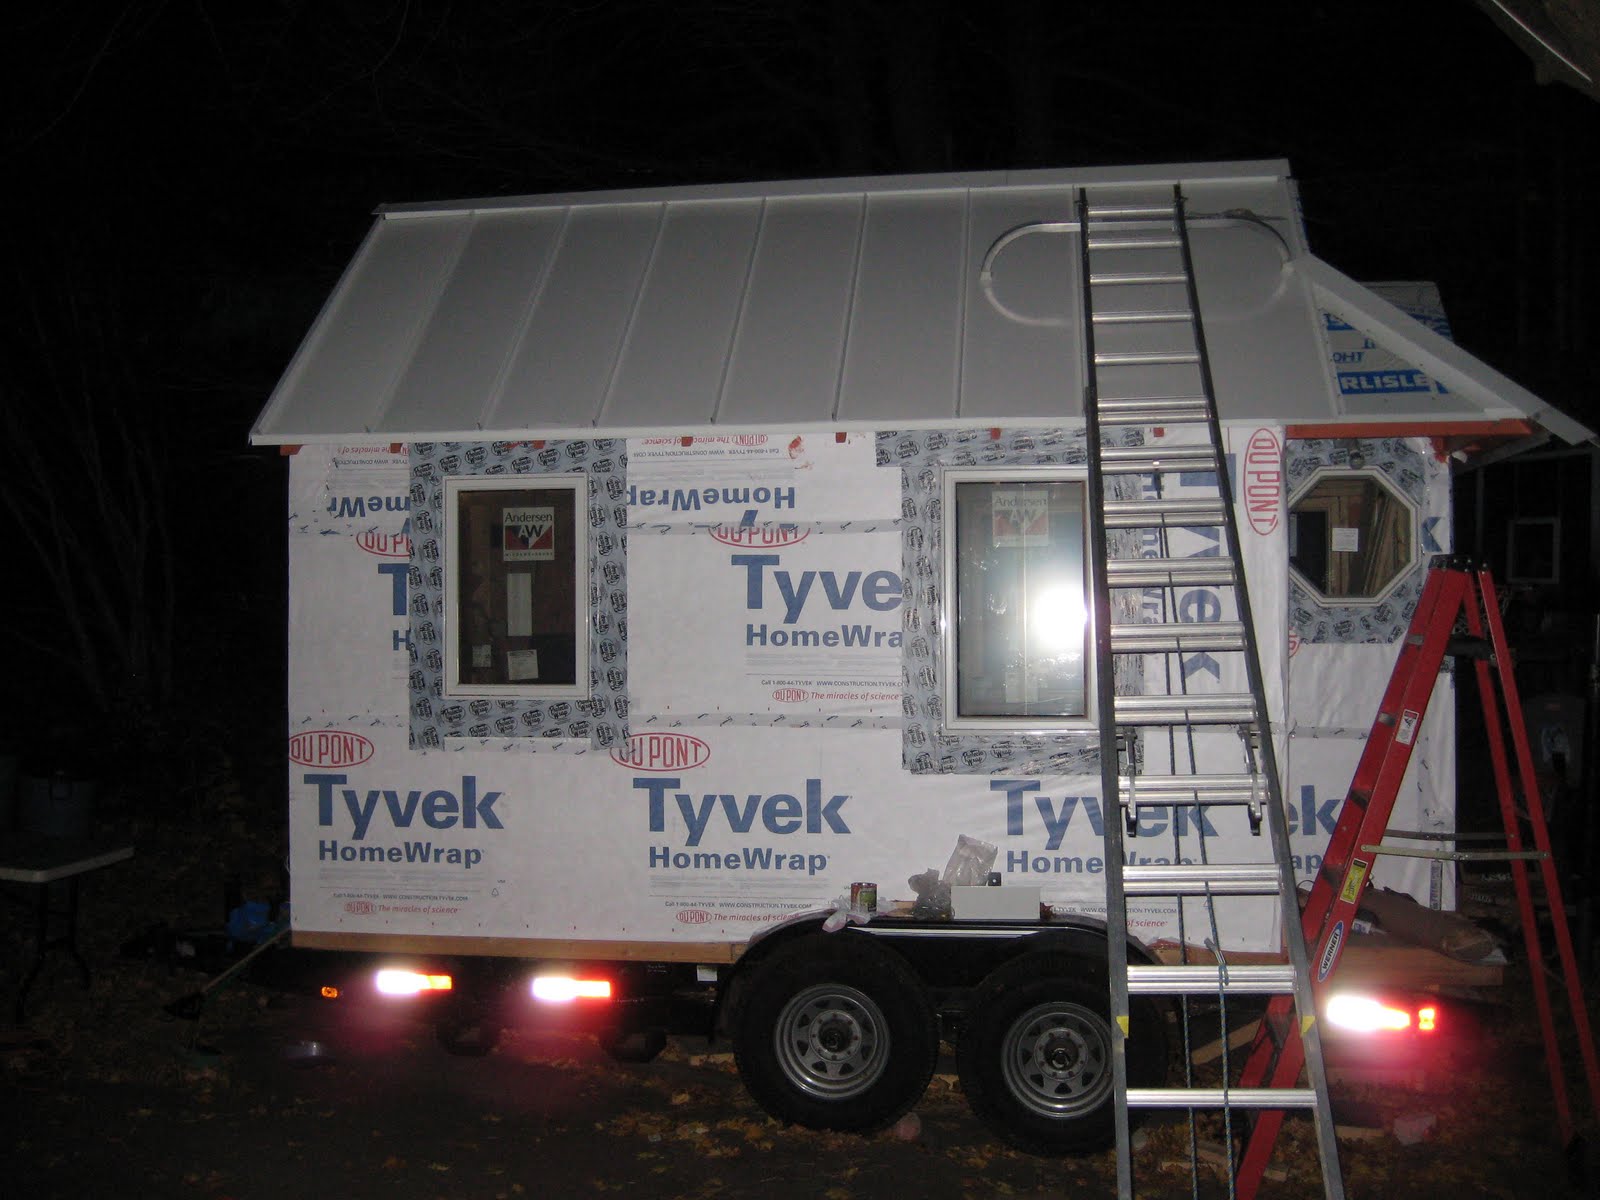
Here is the photographic evidence:
First we put up the 1/4"-thick furring strips to create an airgap between the side of the house and the cedar. This is needed so that if any moisture gets trapped it can escape.


We then used an extra piece of roofing material to make a skirt over the front lip of the trailer.

And, many hours later (probably ~12 person-hours, to be precise), it's a win! We're using 7d 2-1/4" stainless steel ringshank nails and, in so doing, realizing that a pneumatic nail gun would make this go a lot faster.
The cedar (aka Western Red Cedar shake) was ordered from a lumberyard up the street. It's "clear" cedar meaning not primed with paint. It's 5-1/2" in width. A useful tip: put a brand new blade in the chopsaw if you want super amazing cuts.
In this image, a lone house builder, having completed the day's goal of getting the siding done up to the top of the window, looking for something else to do aims the hammer at, logically, a box of nails.