The roof is officially halfway done tonight! We started putting up panels on Saturday/Sunday; the panels on the straight sections go fairly quickly (~15 min per panel) but the front of the house (replete with complicated "dormer window"-style attic vent) is taking some time, so we put some focus on cutting panels for that and installing the hip ridge. The roofing system is great: steel SnapLoc panels by Admiral Bradco, pre-painted. In considering corrugated metal or other options this looked like a very long-lasting option which poses no prohibitive costs or installation challenges for the do-it-yourself house builder (specifically, this system requires no riveting). We were told the roof would last "easily 20 years" which is great. The panels are cut to a length 2" more than the length of the roof so that they can be hemmed over the drip edge (a piece which goes along the eaves). Someone with a fancy machine shop could use a sheet metal bender for this step (which can also be rented) but we found a 6"-wide "hemming tool" which has worked well. Tragically, it cost $70 (kind of pricey for a glorified set of pliers) and does not seem to have many other uses. However, buying this hemming tool was WAAAAAAAAAYYYYYYYY cheaper than hiring professional roofers -- two different companies visited the job site and gave quotes of $900-1,200. I'd like to order one hemming tool, please.
Picture from Saturday afternoon:

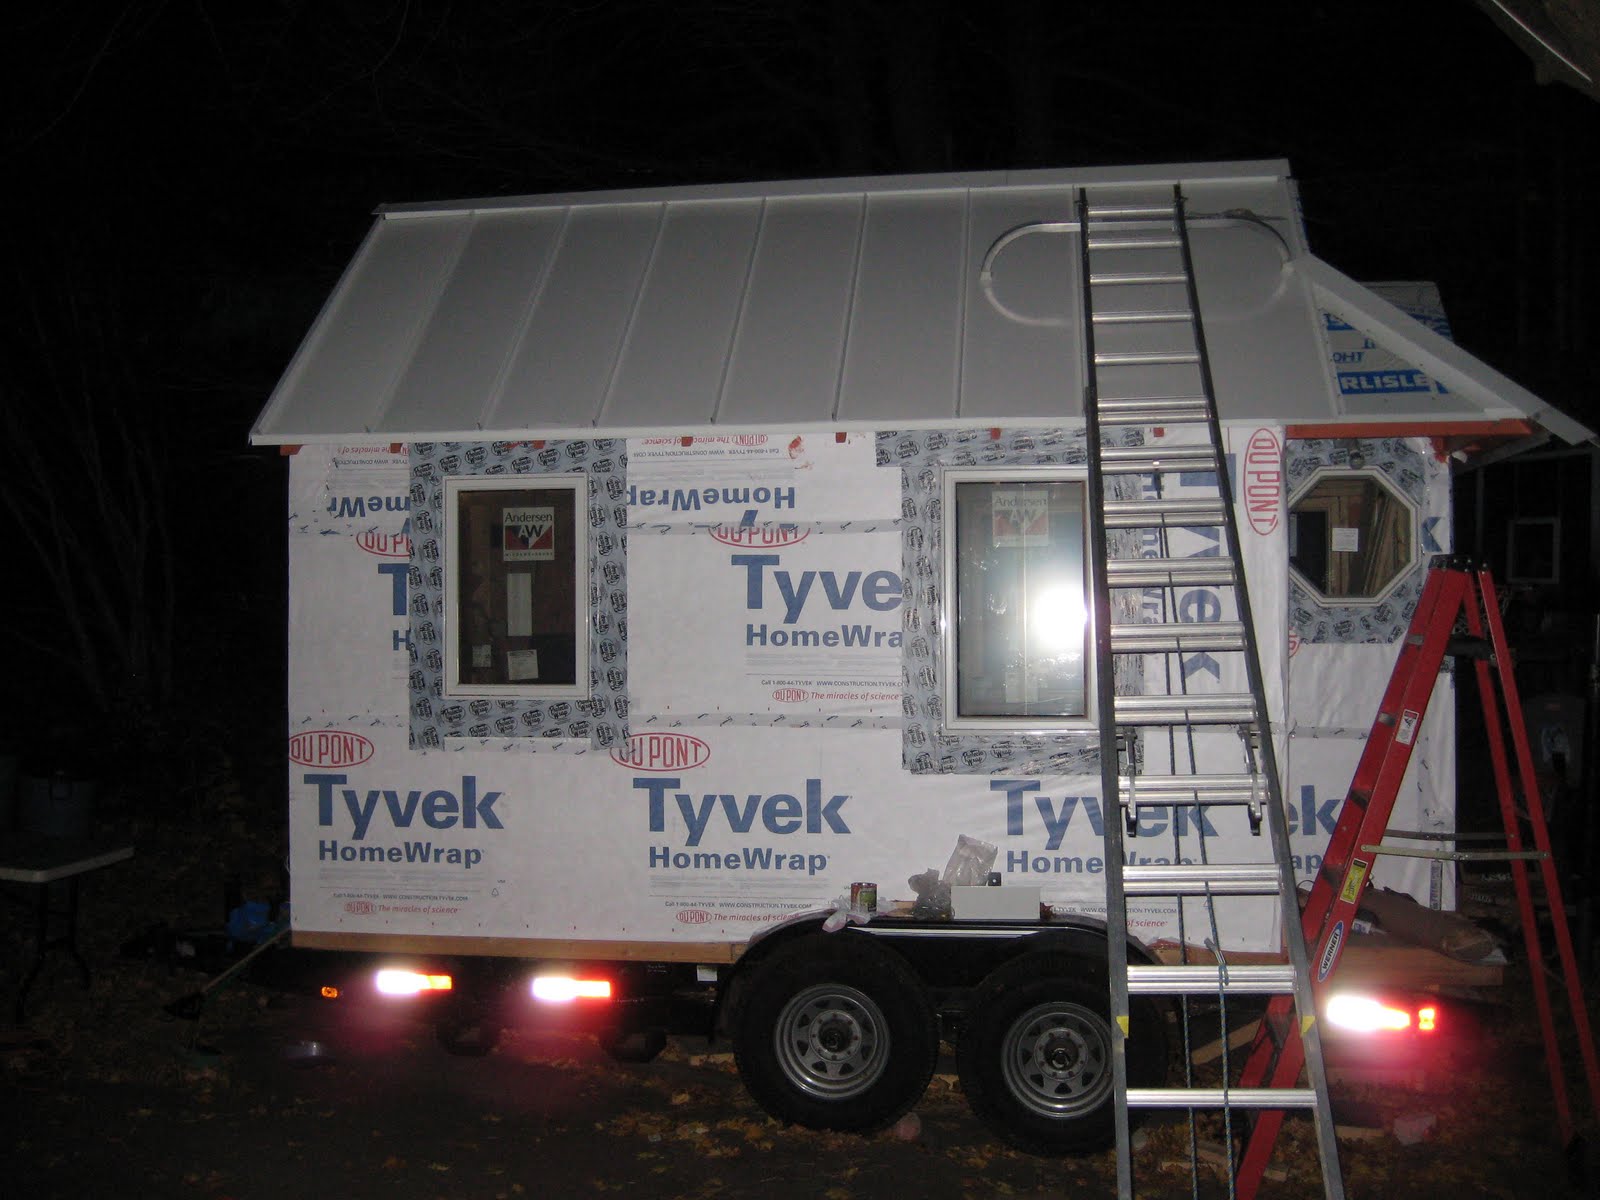
And from just a few minutes ago:

A super cool thing about the SnapLoc panels is that all the fasteners are hidden; one edge of the panel is a standing seam and the other edge a smaller standing seam flanked by a flange (for fasteners). After you put the fasteners in you simply snap the next panel over the smaller seam. Voila! No exposed screws. A piece of butyl tape and a bead of silicone goop are applied to the J-channel piece at the top (beneath the ridge) immediately prior to installing each panel; hopefully this will prevent driving rains from getting underneath the ridge and under the panels.
White was selected for roof color in order to maximize reflectivity in the hot summer; we surmise that the loft could get quite toasty though it does have its own window. Plus, any moss/algae that grows on the roof in ten years will show up better against the white background than, say, dark green and therefore will be easier for future tiny house biologists to study.

You can click on the pictures to zoom in. Also, forgot to mention: the hip ridge is being left long so that it can later be hemmed in some sort of clever fancy way which has yet to be determined. There are 12 fasteners per panel here -- so, one every ~6". You *can* put up panels by yourself but it's easier with two people so that you don't have to carry the panel up the big ladder with you.
ReplyDeleteYipee a roof! For playing banjo in the rain I presume. This is great and nearly completed. I never had any doubt that you could nor that you would but it's great to see you in your way.
ReplyDeleteLove these night photos. The one with the lights underneath--waaaaay cool!
ReplyDeleteRoof Repairs Brisbane are no doubt much more preferable than other materials. I personally love metal roofs too.roofing repair
ReplyDelete