Monday, November 8, 2010

Representative Wall Section

Yesterday we put up a "test section" of the knotty pine interior siding (5/16"-thick T&G) to see how it works. It seems doable (well, we ARE superheroes, after all). Here are some pictures to illustrate what the walls are like:
First you cut the insulation to size; if you're a perfectionist, you will spend waaay too long on this step making sure there are no gaps anywhere. Then you put the plastic sheeting over it (6 mils thick) and follow that with the siding itself. Alright! Now we know what a wall is going to look like.


Rather than using finishing nails we used some ribbed nails just in case. It is probably fine to use normal nails everywhere for the siding since if one is vibrating out you can just pound it back in. The rationale for using screws everywhere in the framing/sheathing is that those won't be accessible later and you don't want the house falling apart while driving/vibrating down the road/etc. For the interior siding we plan to use nails.

The area in the photo is directly above the porch. The thought was that this area will be much easier to access now (prior to installing porch roof) than later.

Tuesday, November 2, 2010

Roofing Part II

Per-panel installation time today was fabulous; two of us completed the entire other straight run of panels in less than 3 hours. All that remains is the front portion (aka complicated parallelogram fanciness) and then the roof will be water, snow, and weather resistant (not to mention resistant to alien lasers from outer space).

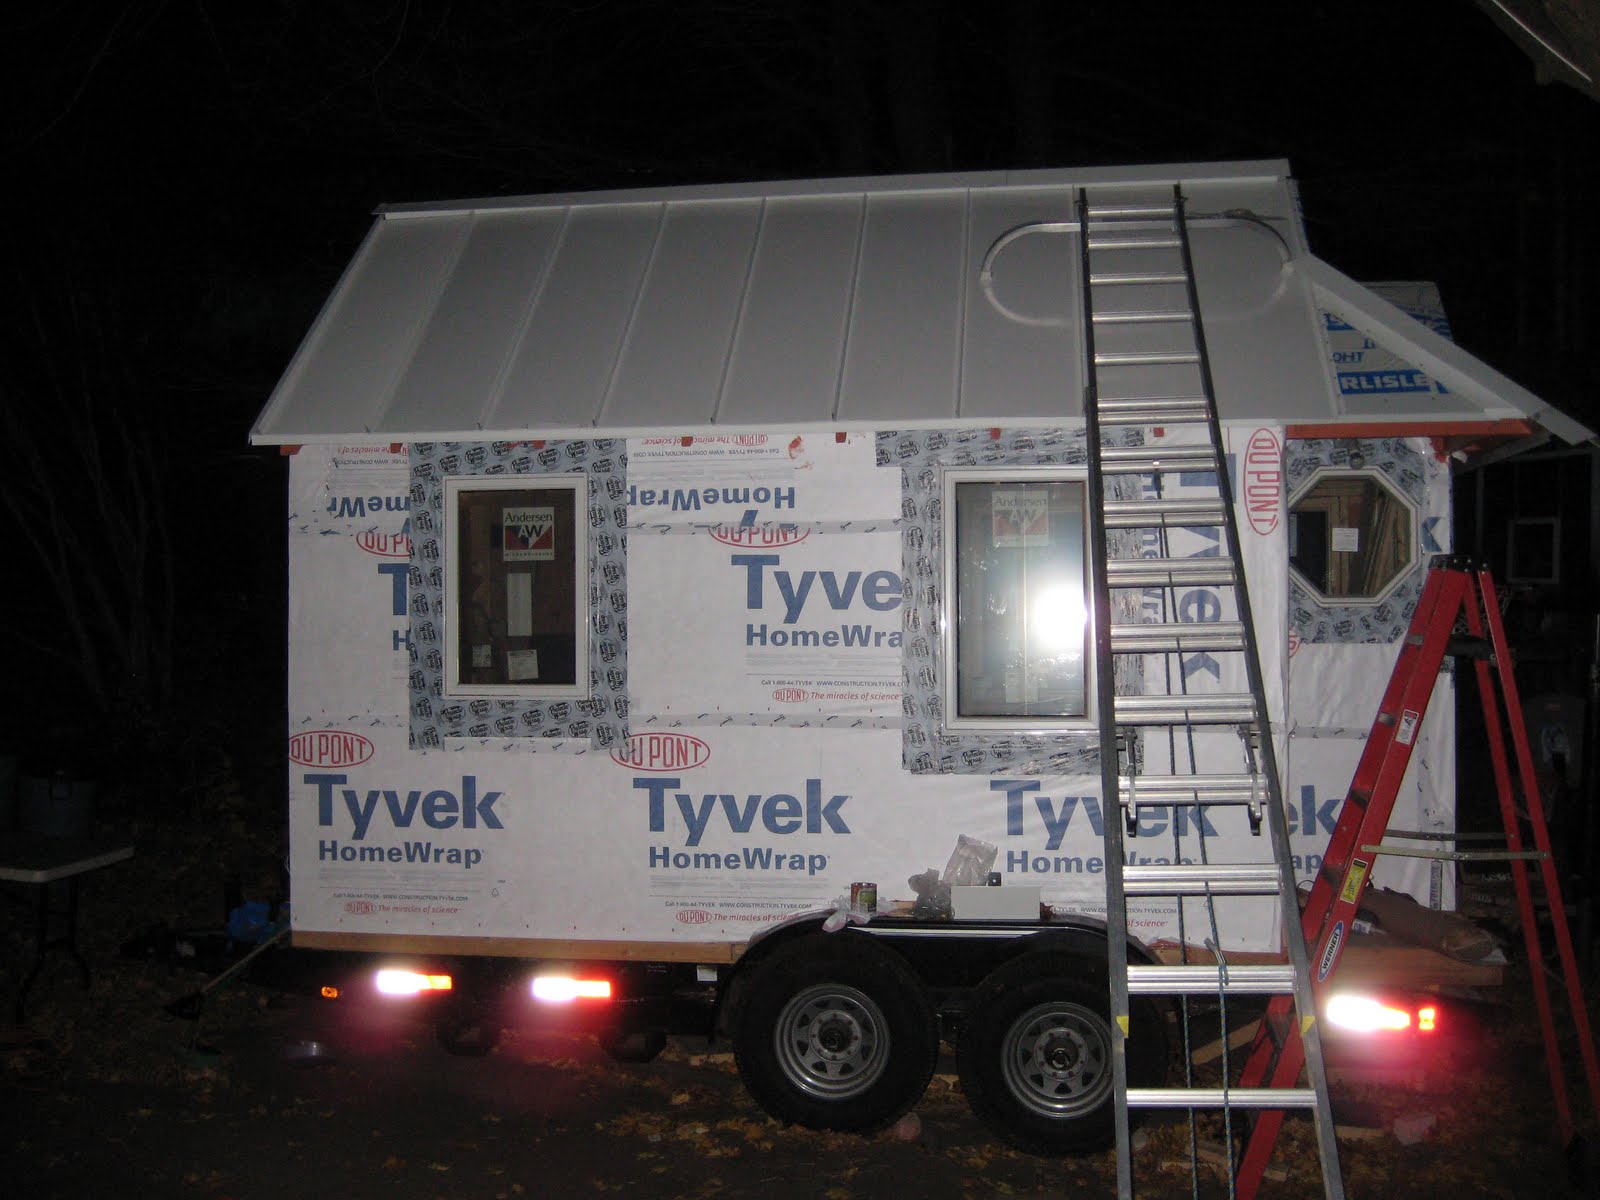
In the following image, the finished Side 2 of the roof is illuminated by a victoriously lofted work light. The raised arm symbolizes victory over difficult odds (the early time of sunset) while the scattered light (there are billions of photons) represents the infiniteness of human potential (there are billions of people). Fine art photography at its finest.

We will not reveal that this picture was taken with a camera phone.


Special thanks is owed to our generous friend who delivered tubes of 100% silicone to our doorstep just in time for us to install the final two panels, completing our goal of installing all of the long panels before the end of the day. Additional thanks to the Talking Heads for providing our inspiring soundtrack. This ain't no party. This ain't no disco. This ain't no foolin' around. This is a tiny house coming together little by little -- and with a nearly-completed roof, to boot!

Monday, November 1, 2010

Installing a Standing Seam Metal Roof

The roof is officially halfway done tonight! We started putting up panels on Saturday/Sunday; the panels on the straight sections go fairly quickly (~15 min per panel) but the front of the house (replete with complicated "dormer window"-style attic vent) is taking some time, so we put some focus on cutting panels for that and installing the hip ridge. The roofing system is great: steel SnapLoc panels by Admiral Bradco, pre-painted. In considering corrugated metal or other options this looked like a very long-lasting option which poses no prohibitive costs or installation challenges for the do-it-yourself house builder (specifically, this system requires no riveting). We were told the roof would last "easily 20 years" which is great. The panels are cut to a length 2" more than the length of the roof so that they can be hemmed over the drip edge (a piece which goes along the eaves). Someone with a fancy machine shop could use a sheet metal bender for this step (which can also be rented) but we found a 6"-wide "hemming tool" which has worked well. Tragically, it cost $70 (kind of pricey for a glorified set of pliers) and does not seem to have many other uses. However, buying this hemming tool was WAAAAAAAAAYYYYYYYY cheaper than hiring professional roofers -- two different companies visited the job site and gave quotes of $900-1,200. I'd like to order one hemming tool, please.

Picture from Saturday afternoon:


And from just a few minutes ago:

A super cool thing about the SnapLoc panels is that all the fasteners are hidden; one edge of the panel is a standing seam and the other edge a smaller standing seam flanked by a flange (for fasteners). After you put the fasteners in you simply snap the next panel over the smaller seam. Voila! No exposed screws. A piece of butyl tape and a bead of silicone goop are applied to the J-channel piece at the top (beneath the ridge) immediately prior to installing each panel; hopefully this will prevent driving rains from getting underneath the ridge and under the panels.

White was selected for roof color in order to maximize reflectivity in the hot summer; we surmise that the loft could get quite toasty though it does have its own window. Plus, any moss/algae that grows on the roof in ten years will show up better against the white background than, say, dark green and therefore will be easier for future tiny house biologists to study.

Wednesday, October 27, 2010

Getting a Handle on the House


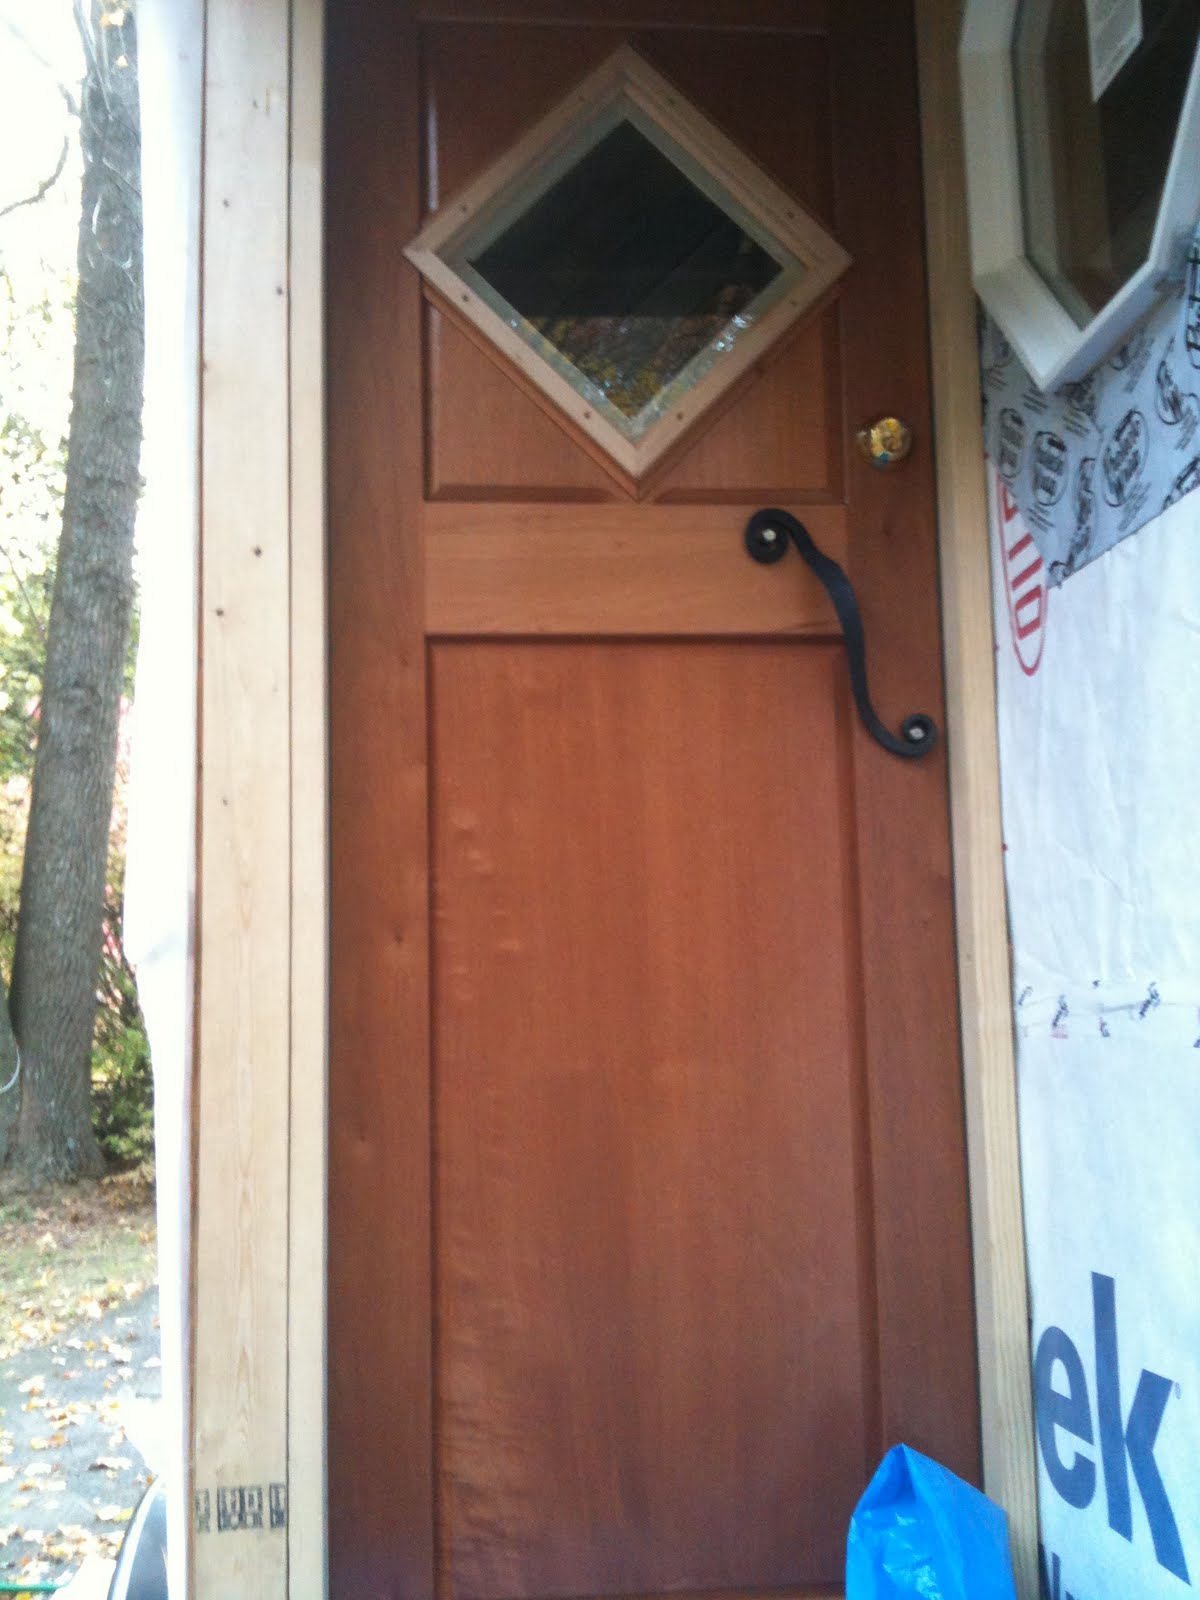
Last night, at long last, a blog-worthy update was made: the installation of the handle on the front door. Work has progressed at a meandering pace in recent months and is now being documented again.

In other news, much of the insulation has been installed. Monkey bars have been installed in the peak of the roof, making the house worthy of habitation. Some of the rake details of the roof have been installed. All of the underlayment is on the roof at this point. No panels have been installed yet.

Check out that door handle!!! Custom made by a generous blacksmithing friend!

Wednesday, July 21, 2010

The Front of the House: Door and Decorative Roof Strip

Not a major workday, but small updates to report:
we forgot to seal the raw wood on the windows so we've masked off the glass and are painting those with a couple coats of BioShield Aqua Resin. Masking is a bit tedious, but it's getting done in the name of giving eternal life to the windows.

Here's what the front of the house looks like at the present time (picture taken one hour ago!):


Behold! The deadbolt was installed in the door. The porch light is visible in this image as well (thank you, Ace Hardware and compact fluorescent light bulb). We have yet to install the top of the door jamb but we'll get on that soon.
The diamond and octagon windows seem to look nice together -- a good thing as this was not really planned or drawn out in advance, it just happened. The two windows on the far right are for the bay window seating area. In the Tumbleweed plans it called for slightly larger windows which had a long lead time from the vendor we chose; these smaller windows were available sooner.
Great! We didn't get any tar paper on today after all but that is still in the cards for the proximate future.

Tuesday, July 20, 2010

All Windows Go

At long last, a full set of 8x10 color glossy pictures with circles and arrows and a paragraph on the back of each one.

Or, short of that, more pictures showing y'all what the heck the house looks like in its current state.

TODAY the last two windows were installed. To make up for the lack of other photos on the blog recently, we took step-by-step photos of the installation of the last window. Here we go:


pic1: Here you can see the Tyvek has been wrapped around slightly on the inside of the rough opening of the window.pic2: the OCTAGON! in the flesh! We had to reduce the width of the window to ensure that the inside surface (on inside of house) would be flush with the interior siding. We've chosen to use 5/16" knotty pine siding for the interior but the window was built for slightly thicker interior siding. However, this was soon corrected. Thank you, jigsaw. The octagon came with flanges to install in a groove all the way around (one flange is visible here).


pic3: Two things of note: Protecto Wrap is used on the bottom of the rough opening to protect the wall against the unlikely event of water accumulation/pooling between window and wall. Silicon is then applied in a bead all the way around the opening. Silicon hardens pretty quickly so you shouldn't start applying it until you've already done a dry fit of the window (with shims) and know exactly where you want the window to go.


pic4: Next, insert the window into the opening and predrill the holes. We used 1-5/8" screws.

pic5: And we're done! Put Protecto-Wrap over the edges to seal out the weather and it's a done deal.

pic6: Blast from the past: a work-in-progress shot of the electric subpanel. It's a 100A subpanel. All components are Square-D.

Woohoo! That's the news of the day. Tomorrow: putting up some tar paper.

Monday, July 19, 2010

The Door is Ajar!

Progress! Last night we hung the door. Hinges, jamb, weather stripping, oak threshold and all. A great event made greater by the fact that the trailer is on a slightly uneven surface so it's hard to say whether the door will swing naturally shut due to being slightly mismounted or if it just might miraculously be completely perfect once the trailer is back on level ground. Only time will tell!

We made the door out of Spanish Cedar, chosen because of its 1) natural built-in bug resistance and 2) bargain basement low price (compared to fancy exotic woods). We learned this factoid: cedar dust is not good for your health. Wear a dust mask when working with it.

It's a panel door and took about 3 full days to make in a friend's woodshop. Necessary tools to build your own panel door are: joiner, router, random orbital sander, chisels, hammer, table saw, and, if possible, a mortising machine (like a drill press but makes, gasp, square holes -- no joke).

Home Depot special ordered us a 10"x10" window for $20 which we put in the door.

What else.... we learned that some brands of metal roofs need their own proprietary type of underlayment. Apparently certain tar papers accelerate the corrosion of steel roofs. Interesting factoid of the day.

We used a deadbolt for the door which is keyed on both sides for added safety. Since there's a window in the door which a thief could ostensibly smash and reach through it seemed like a good idea to make sure there was no lever on the inside of the lock that could be easily turned. When no one's home, the key won't be in the other side. Until world peace descends upon us, this idea seemed prudent, even if there are lots of other smashable windows in the place.

Hooray for doors! The house now looks way more legitimate and house-like.